Office 2016 Mac on a diet — decreasing Office's disk use
My university has partnered with Microsoft to offer its students a free version of Microsoft Office 2016 for the duration of their stay. Great, as I was still using the old Office 2011 to read and write the occasional document.
To my dismay, however, I found the new version to be quite the glutton in terms of storage space: installing Word, Excel and PowerPoint 2016 took no less than 7.1GB worth of disk space, while 2011 did with but 1.2GB. (Presumably, this is worse if you've also installed Outlook and OneNote, which I did not.)
This was, of course, unacceptable to me. Sure, storage has become cheaper, but this much of an increase is ludicrous, especially on a small SSD. I decided to investigate.
As it turns out, Office 2016 no longer shares its assets in a common folder, like Office 2011 did. This means its frameworks, fonts and 'shared support' assets are all duplicated for each of the programs. While this makes the programs nicely contained, it has one obvious downside, as we discovered...
Fortunately, there is an easy solution that requires some tinkering. In the steps below, I trimmed it down to 2.3GB, saving roughly 5GB of storage for other things.
Finding common ground
The .app folders for Word, Excel and PowerPoint share roughly four directories:
- Frameworks
- Resources/DFonts
- Resources/Fonts
- SharedSupport
In the steps below, we will merge these directories into one shared by all of the programs.
NB: if you prefer the command line over Finder: that works, too! It's how I initally did it, too.
Merging the assets
Step 1: grouping up
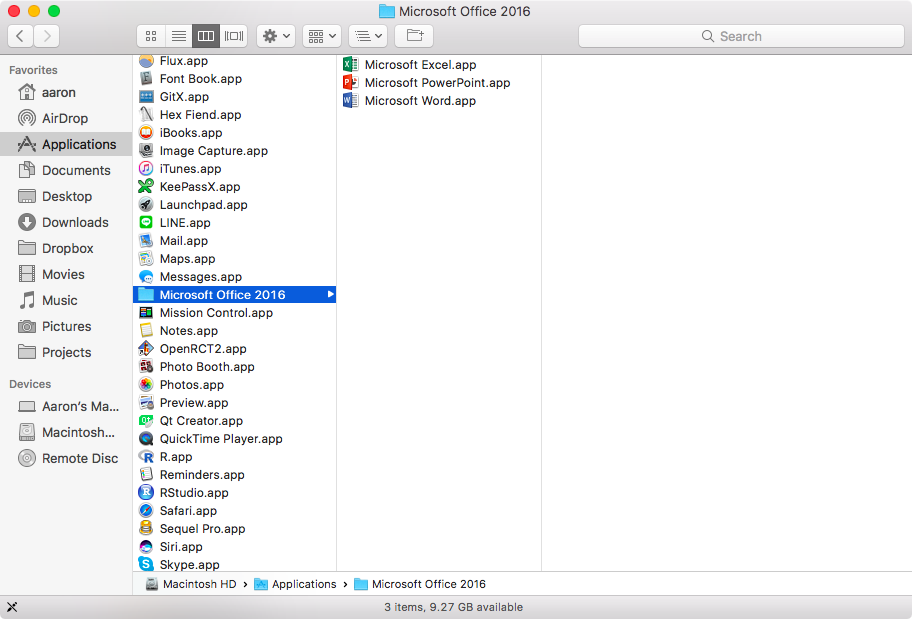
First up, create a new folder in your Applications folder. I named it 'Microsoft Office 2016'. Then, move each of the Office programs into it.
You should now have a folder like this:
Step 2: preparing for transport
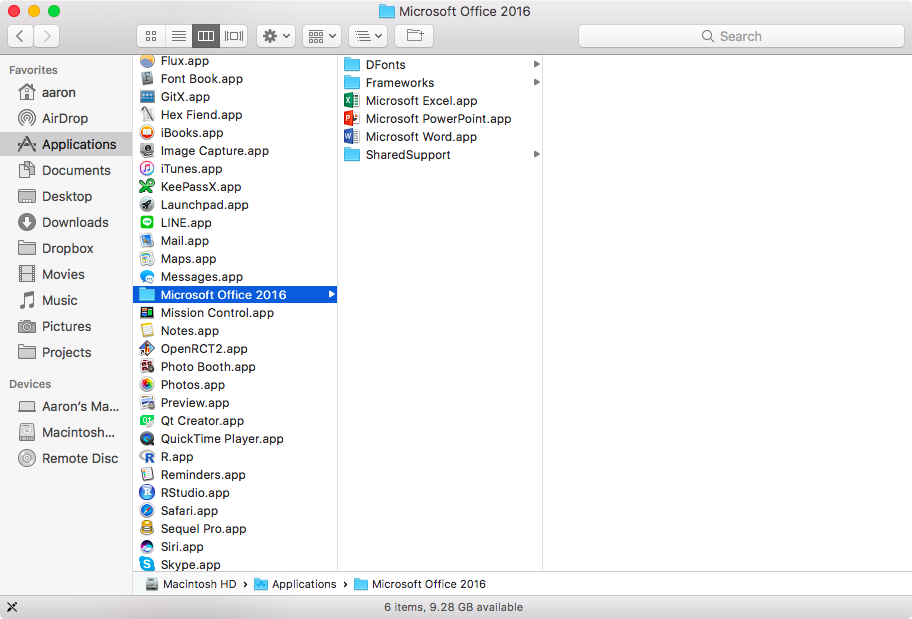
Now, create four folders in the folder you just created:
- DFonts
- Fonts
- Frameworks
- SharedSupport
The end result should look something like this:
Step 3: moving assets out
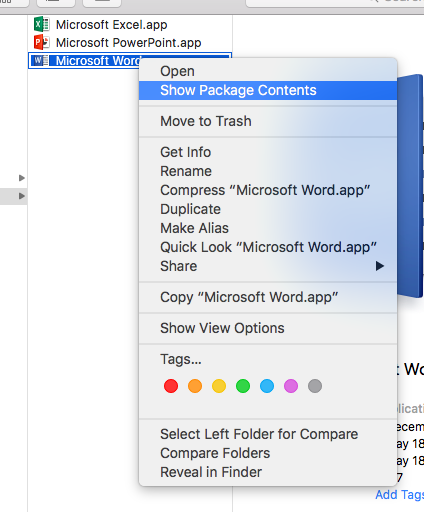
Open up the context menu for one of the apps, and select 'Show package contents'. For Word, this should look something like this:
You'll now see the contents of the application folder. Navigate to 'Contents' and you'll see something like this:
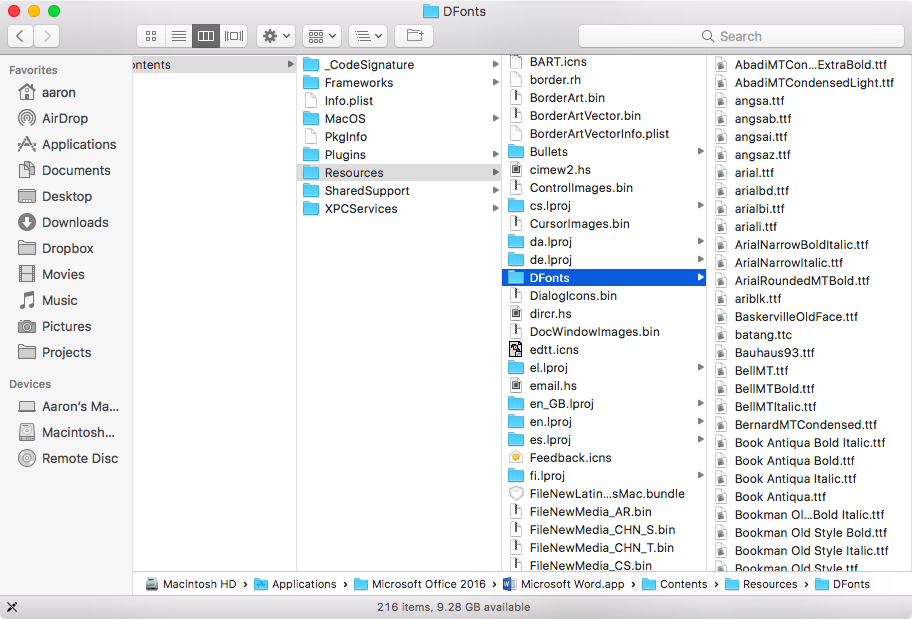
As we previously mentioned, we're interested in moving three folders out. For each of these folders, select all files and move them to the equivalent shared folder we created in step 2. To re-iterate, we're doing this for the folders Frameworks, SharedSupport, Fonts and DFonts — the last two of which are in the folder Resources.
If you've installed Office for all users, you will be prompted to authorise yourself as an administrator. Enter your password when asked.
You will need to do this for each of the applications. As they share most of their assets, you'll eventually be presented with a dialogue like this:
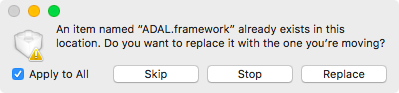
You can safely choose to either skip or replace all the files.
After you've moved out the files for an application, you should delete the folder from the application's directory. If you chose 'skip' in the previous dialogue, it will not be empty -- that's fine.
Step 4: linking up
Now, we'll trick the programs into thinking their assets are in the original location by creating symbolic links. Unfortunately, there is no way to do this through Finder without any extra tools. That makes this last part the trickiest, as it involves the command line. (If you're familiar with it, please excuse the handholding below.)
First, we'll have to open Terminal. It's probably fastest to launch it through Spotlight, but you can also find in the Utilities folder in Applications.
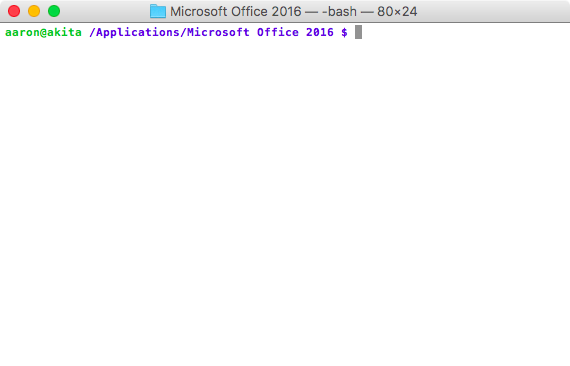
You'll likely be presented with an intimidating white screen:
Please note: the instructions below assume you have completed each of the previous steps. Please double-check before continuing!
Copy each the commands below, pressing [Enter] after to run the command.
First, we'll navigate to our Microsoft Office folder:
cd "/Applications/Microsoft Office 2016"
Now, we'll make the symbolic links for each of the applications present. You will need to enter your password after pressing [Enter].
find . -type d -depth 1 -name "*.app" | { \
   while read d; do \
      sudo ln -s ../../../DFonts "$d/Contents/Resources/DFonts";
      sudo ln -s ../../../Fonts "$d/Contents/Resources/Fonts";
      sudo ln -s ../../Frameworks "$d/Contents/Frameworks";
      sudo ln -s ../../SharedSupport "$d/Contents/SharedSupport";
   done; }
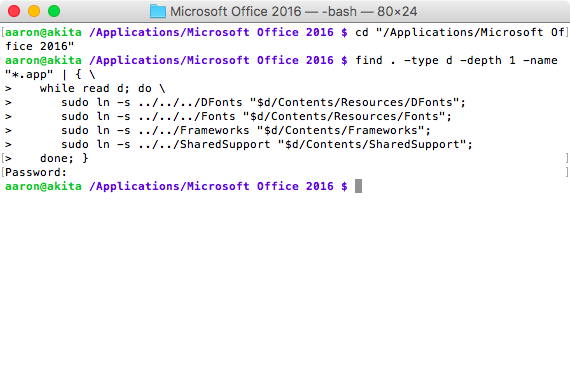
After successful completion, your terminal will look something like this:
Step 5: done!
If no errors show up, you're done! You can now close the terminal. Enjoy your slimmed down version of Office 2016!
Comments are much appreciated.
Addendum (2016-01-14)
When Office is updated, the folders appear to be replaced by fresh copies, thereby removing the symlinks. Unfortunately, this means you will have to repeat the aforementioned steps to decrease disk usage once more.
Comments
As @Jasper suggested, I copied the files between Excel, Outlook, PowerPoint and Word instead of moving them out of the folder. It seems to have freed up about 3GB according to the space available on my disk. The folder with the four apps says it is still 8,4GB (I'm running Office 365). This would make sense as that does correspond with the contents of the individual apps.
The apps all work, hopefully they will continue to function after the next update…
I would so love for this to work!
However, I cannot get it to work in current 16.2 version. Can someone please confirm:
- Does this currently work?
- Shouldn't there just be 2 (rather than 3) for "Fonts" i.e. "../../Fonts" just like "Frameworks" and "SharedSupport" as it now sits alongside them as is not put into an additional "Resources" folder?
I never got prompted for a Password. Neither did I receive an error message.
Last question:
- How does one see and remove a SymLink in Finder?
Tried this (version 16.15) and afterward Word would no longer open. pls help me, i don't know how to make hard links to directories, install "brew hardlink-osx".
Hey, this worked great, reduced the total size from around 7 GB to 2.2 GB, thanks a lot! A small note though, in the Office 365 version as of 2018, Excel was the only application with a DFonts folder as far as I could tell, but things seems to be working fine.
Tried this (version 16.12) and afterwords Word would no longer open. Replacing the symbolic links with hard links, however, and everything is working again. To make hard links to directories, install "brew hardlink-osx".
Nice workkk.. cool thanks, this is what i've been looking for years. Sad that an update revert the changes :(
Well done, great hack, worked like a charm! Tons of space saved.
With the advent of APFS and its "Copy-on-write" feature in macOS 10.13 High Sierra, one could simply copy the relevant duplicated files (fonts, frameworks, etc) from one application to all of the others. In theory APFS should now only have one version of each file. Now when there's a software update you don't lose all of the space-saving benefit; only for those files that have changed.
My Office was almost 7GB, now it is 2.25GB.
Thank you!
Will this also work on the Windows version?
Note: the Windows Student version does not ask what you want to install, it just installs everything including Onenote / Outlook etc.
Is there a way to undo this? I don't want it anymore and all applications have been acting weird lately.
Nice trick! I was wondering also why the footprint is so dramatically big. Thanks for sharing!
Tried this on an illegal cracked version from thepiratebay. So after the procedure the crack was gone i was asked to activate the product... :) Just some information... But the very programs worked after it.
Comments closed
This blog post has been archived; it is currently not possible to comment.