HDR photo merging using Adobe Lightroom
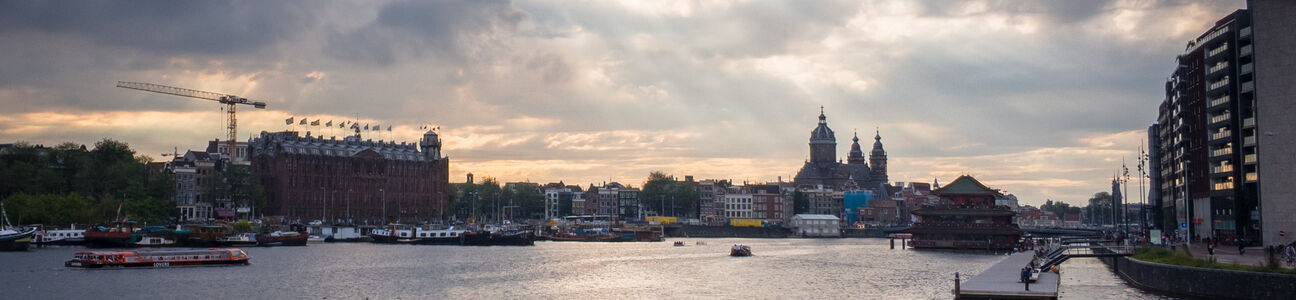
When taking photos, we often have to deal with difficult lighting situations, such as a bright sky and a relatively unlit landscape. In practice, unless a filter is used, most cameras can only take a proper photo of the sky, or of the landscape. We can make use of high dynamic range techniques to combine the best of both photos.
The second ingredient is RAW photos — the raw sensor data from a camera, made famous by DSLR cameras. These days, however, while travelling through the Netherlands, unless I'm going on a photography field trip, I hardly ever bring my Canon DSLR along. Instead, I take photos using my iPhone. I'm an avid believer in RAW photography and editing afterwards, though, as it enables recovering all sorts of details from photos. Luckily, a RAW camera API has been exposed since iOS 9, enabling third-party apps like Camera+ and Halide to achieve similar results.
Getting started
In this example, I will explain the editing process using Adobe Lightroom Classic CC, combining three photos I took on a trip to Amsterdam. Consider the following library view.
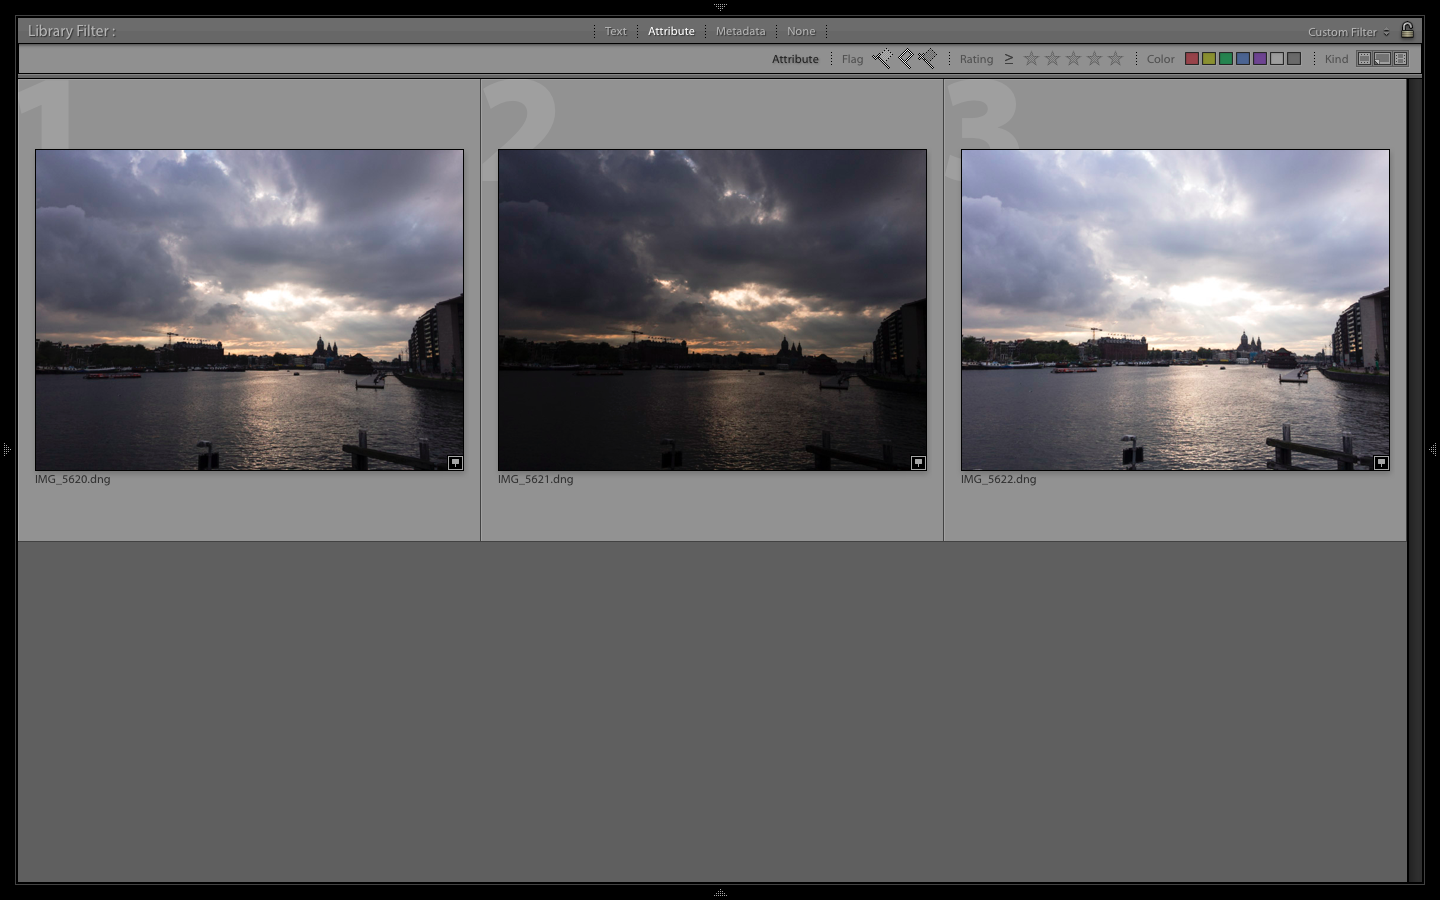
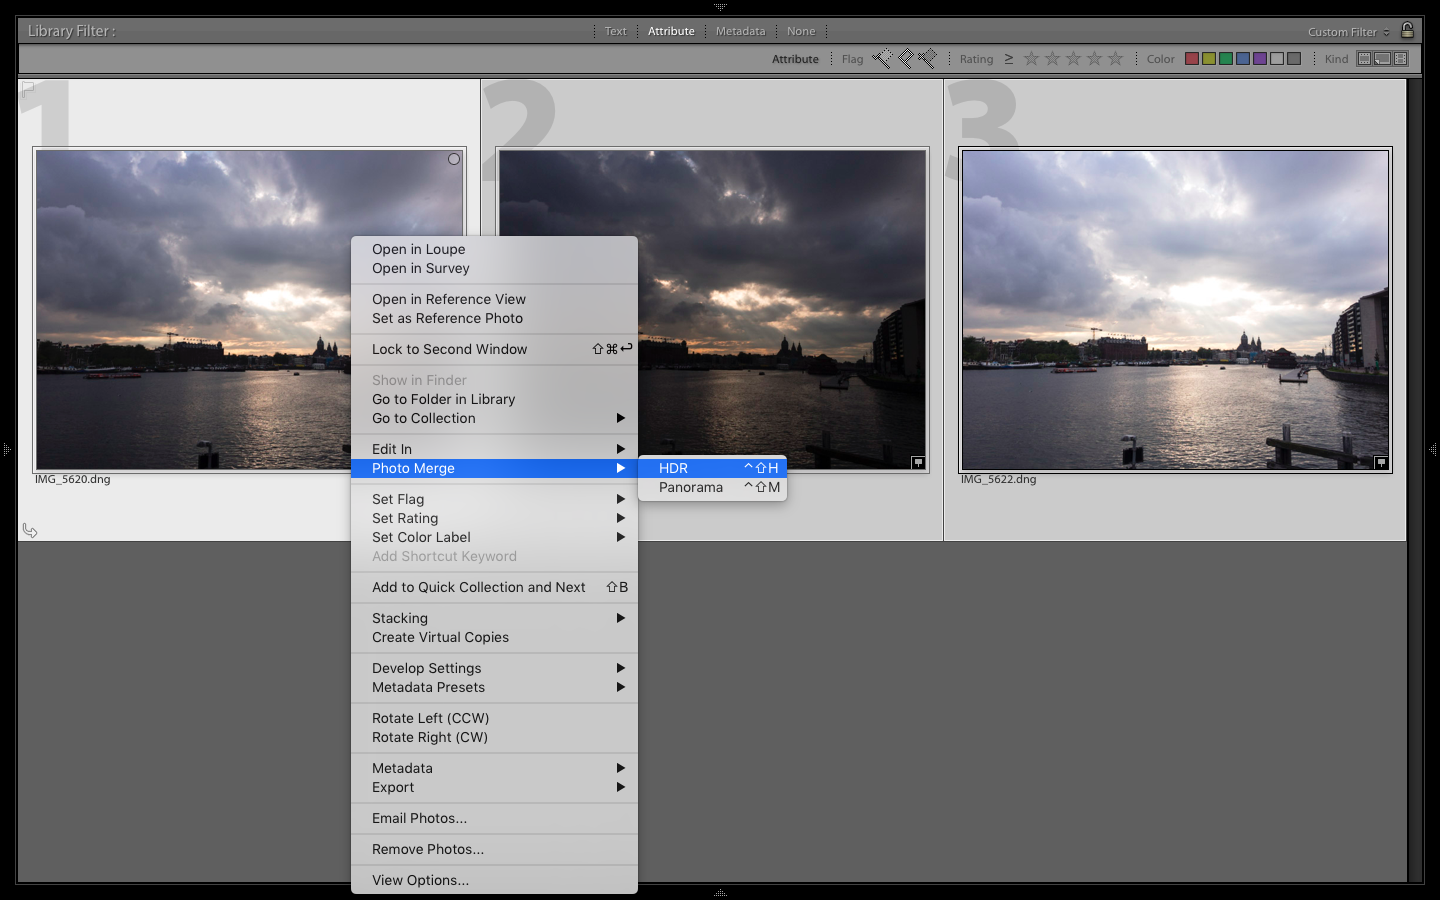
We'll selecting the three photos. Right-click, point to 'Photo Merge...' and click 'HDR'.
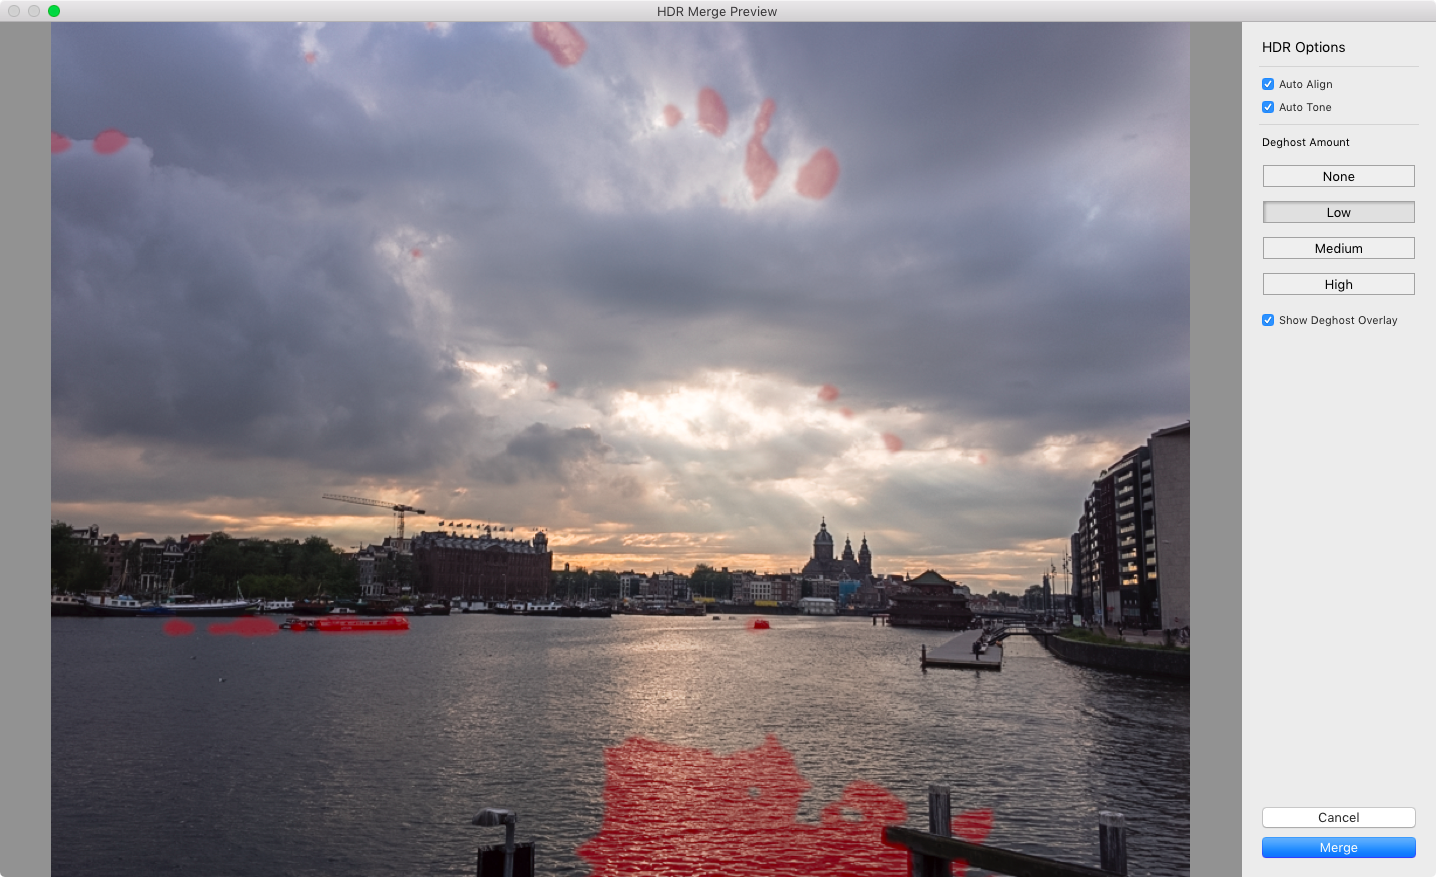
In the next screen, Lightroom renders a preview for the combined image. If elements of the photo have moved, the combining process may lead to ghosting effects: traces of the elements may appear in several places. Fortunately, Lightroom offers deghosting options. It's worth fiddling around with them and seeing which value best suits your images.
Click 'Merge' when you're satisfied.
Now, find the newly-combined HDR image in your library. By default, Lightroom names the image after the primarily selected image. Personally, I rename them to include the range of photos.
Let's move to the Develop module to tweak the results.
Editing the image
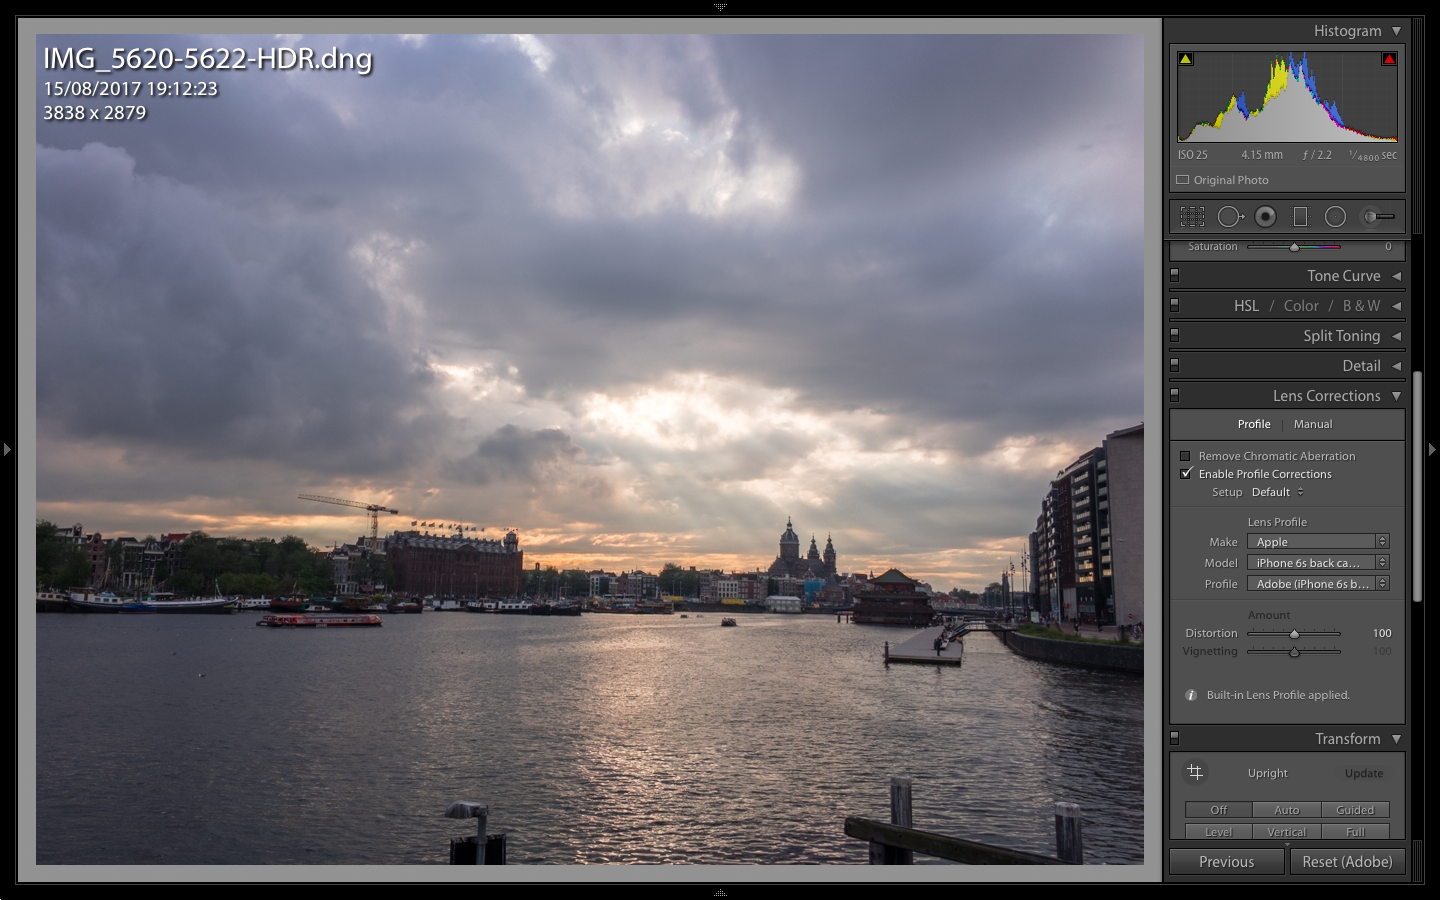
One of the first things I usually do, is apply a camera and lens profile. Luckily, Lightroom comes preconfigured with profiles for most popular cameras and lenses — including for my Canon lenses and the iPhone 6S lens.
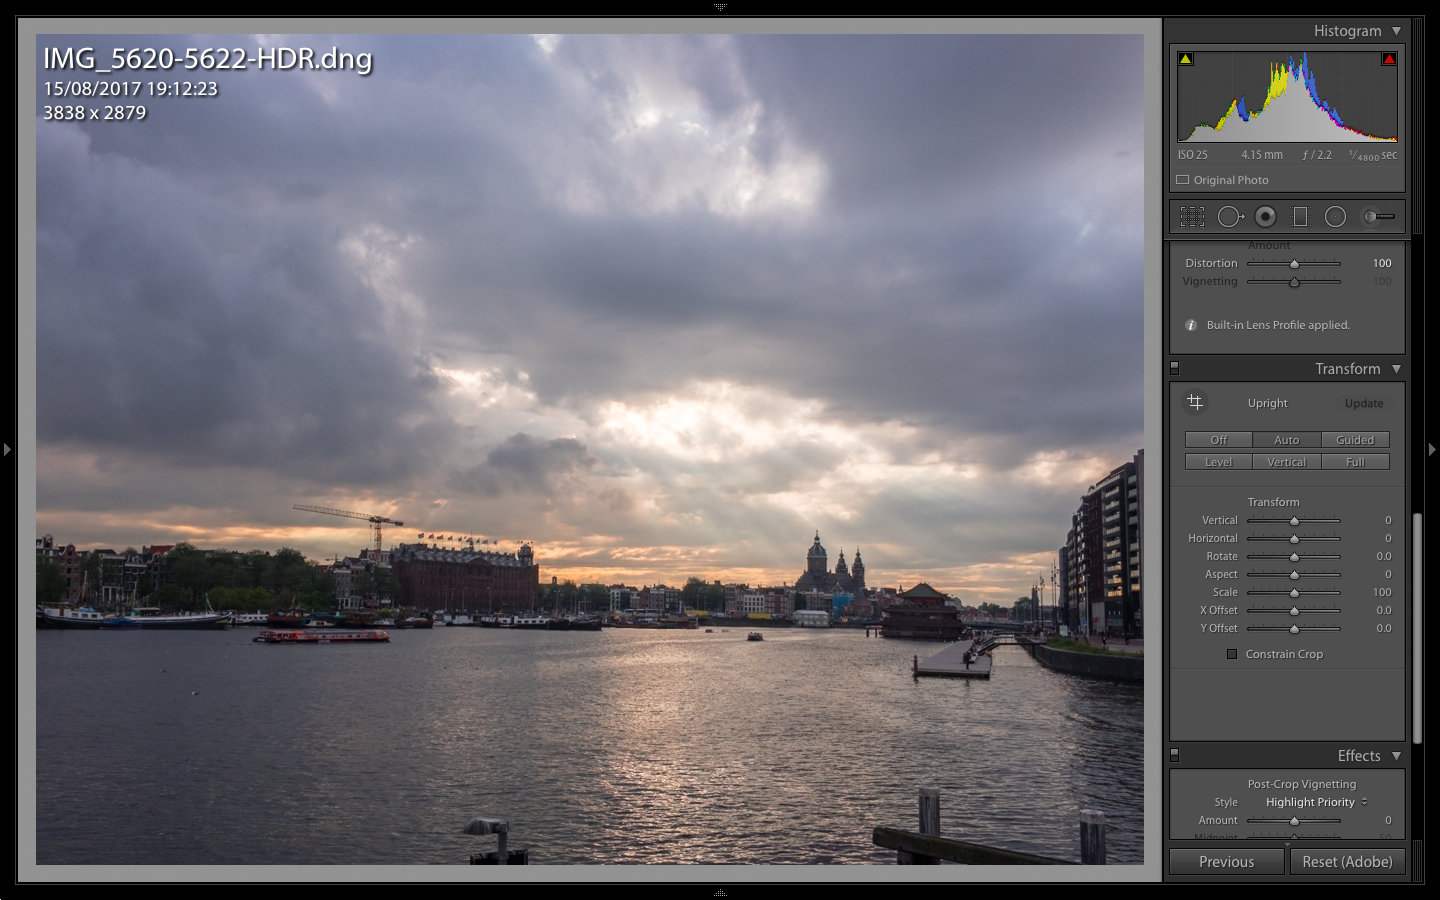
The next step is a little cheat: the automatic transformation tool. In this case, the perspective was a little off, which this tool nicely compensates for.
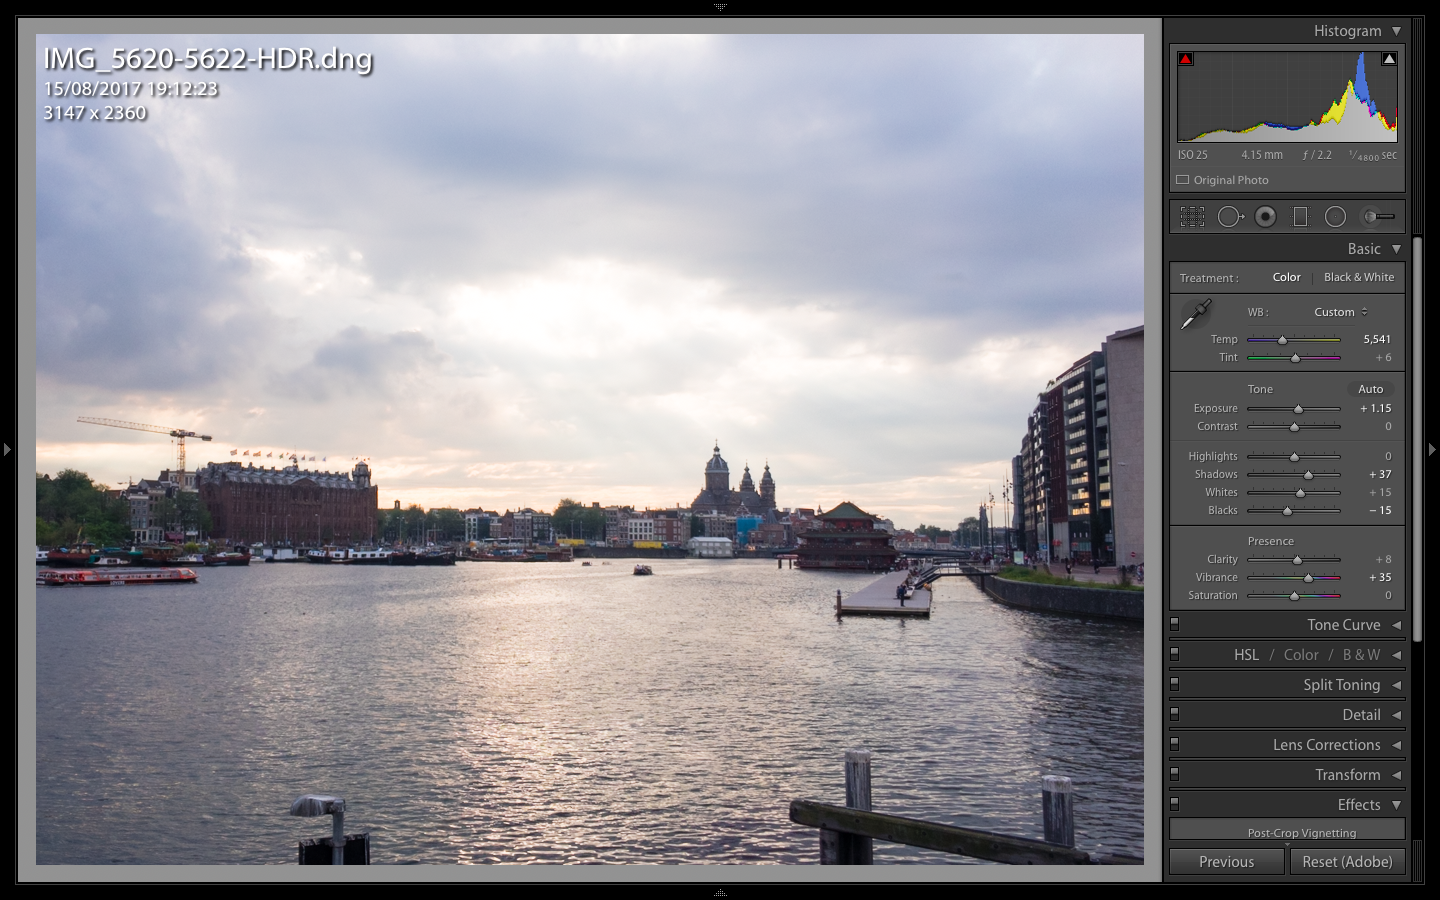
Now, the photo contains more sky than city. I'd like the two to be more balanced, so let's use the cropping tool for some first adjustments.

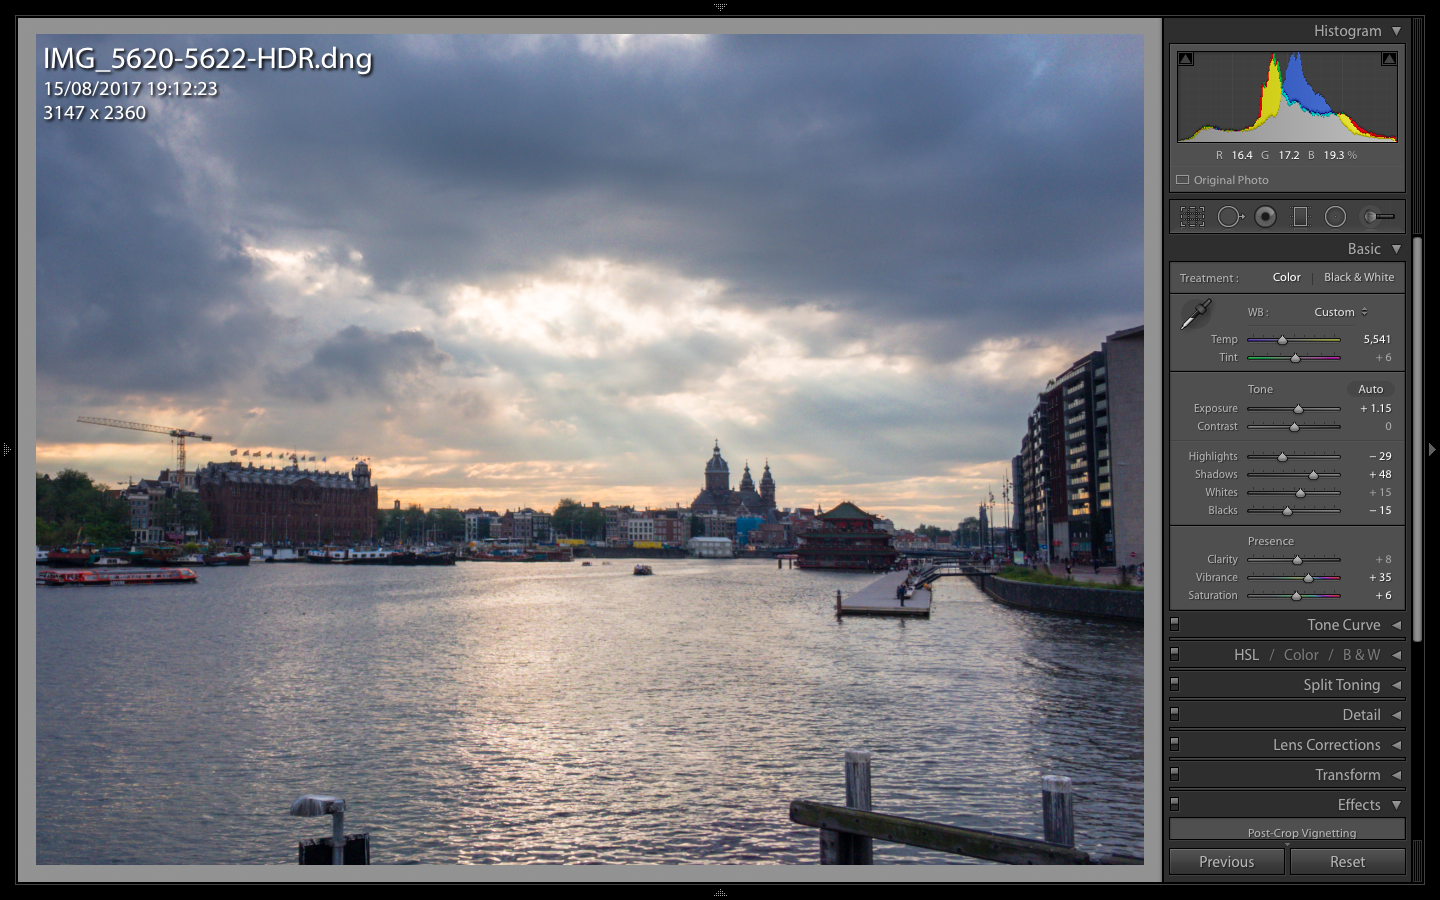
This is starting to look like a proper photo, but I'm not satisfied with the cityscape yet — it looks too dark. Hence, I'm increasing the exposure slider on the right.
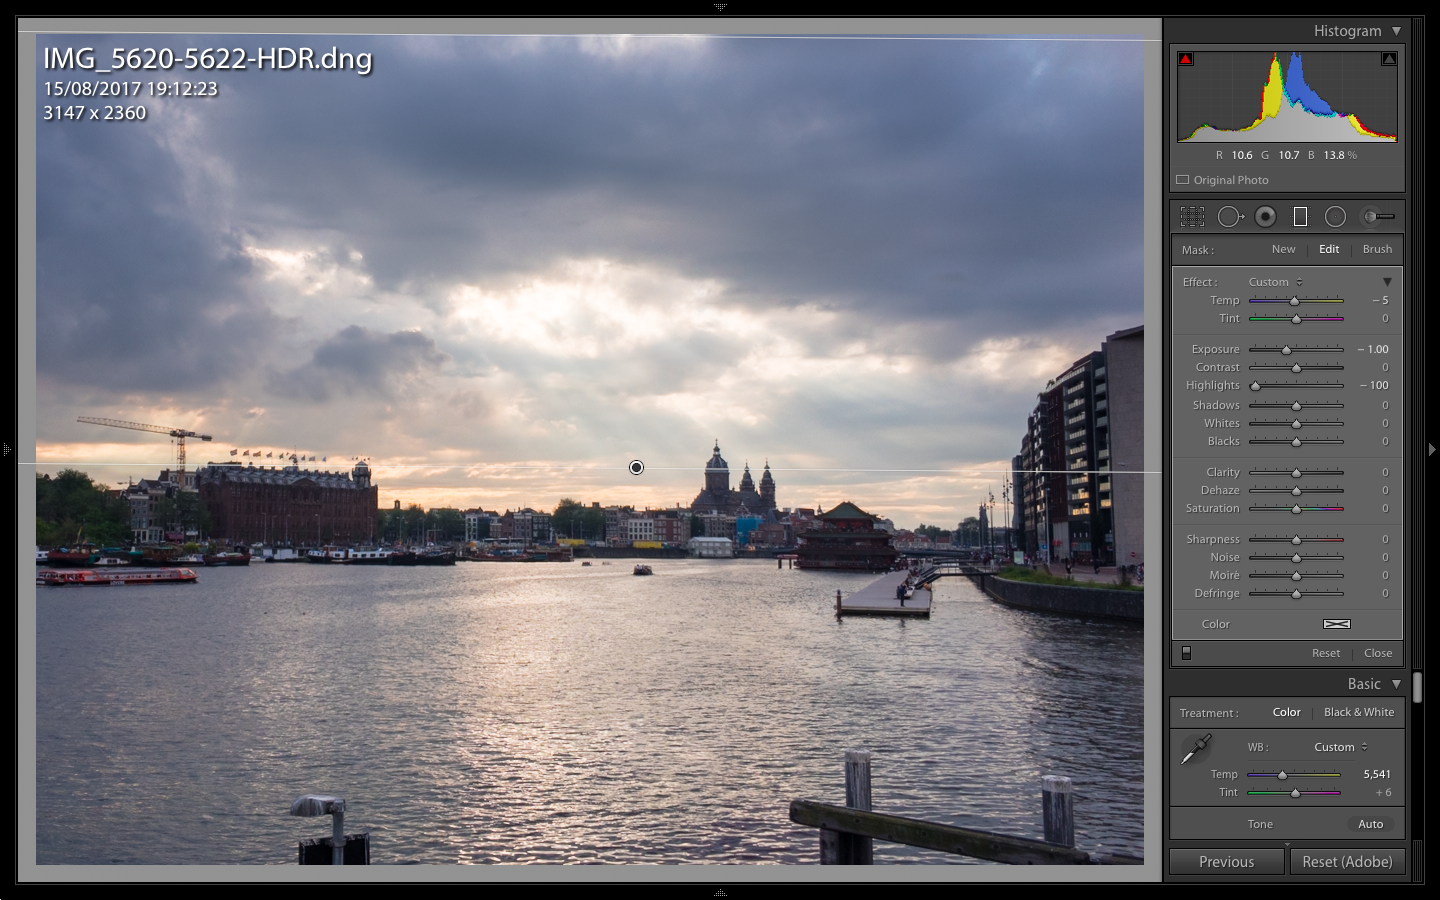
This looks like I'm overdoing it, but bear in mind I'm focussing on the cityscape now. For the sky, I'll be using another tool: a graduated filter, analogue to the filters you can mount on your proper DSLR camera.
Select the graduated filter tool (it's icon is in the middle of the toolbar) and drag it from the top of the image to the horizon — or in this case, where the sky stops and cityscape begins. If you hold the shift key, the tool will be constrained in one direction to ease placement.
Configure the tool's effect on the right. In this case, I have set it to have roughly the opposite effect of the global settings.
This is really starting to look nice. I'm applying some final tweaks in global light and colour handling on the right, now:
Final touches
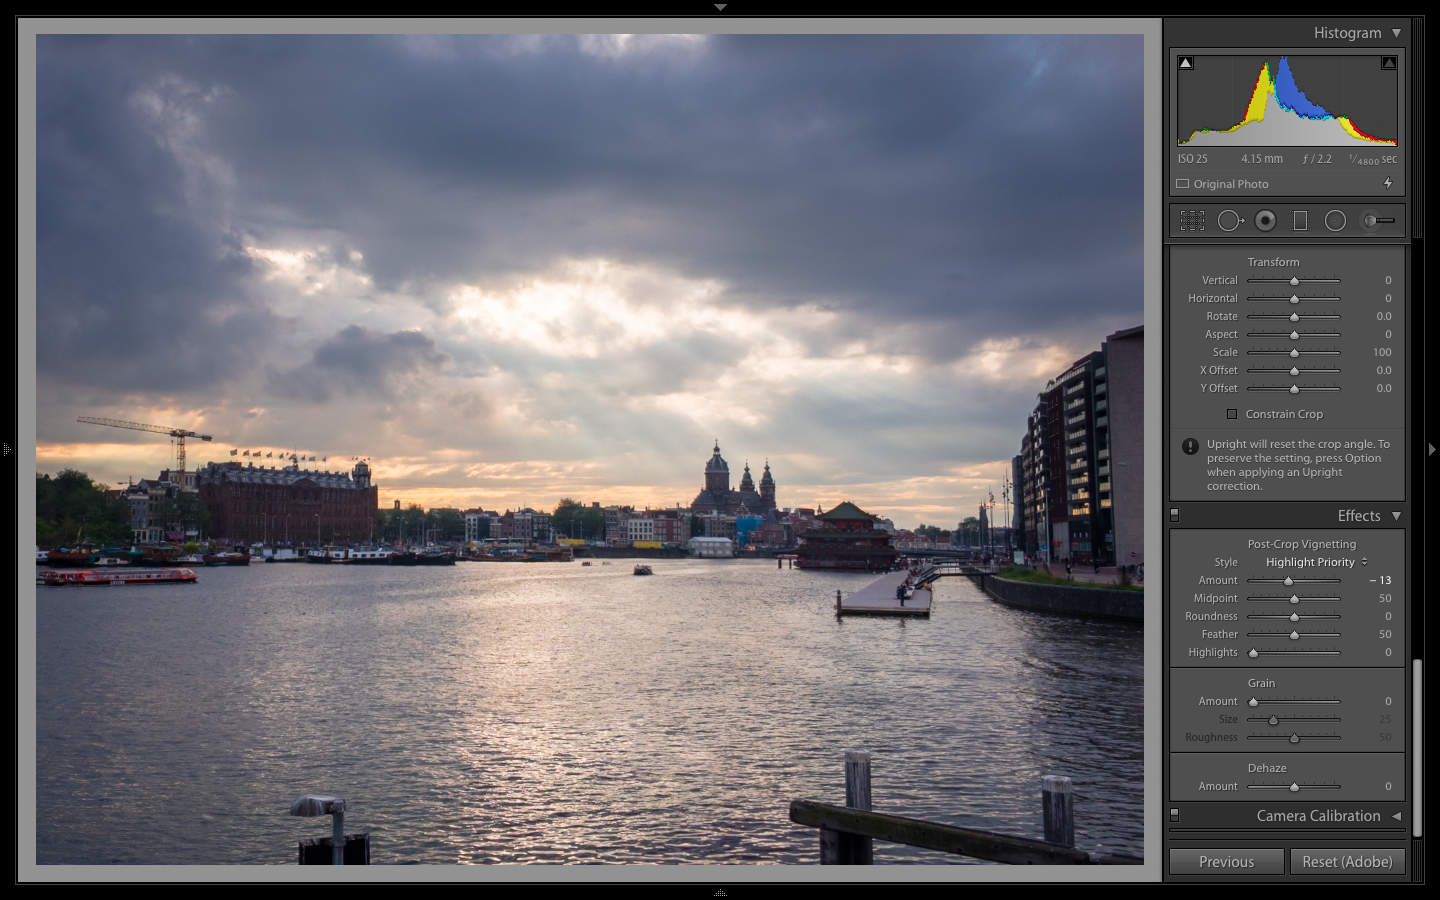
As a final touch, I like to apply a slight post-crop vignette effect. As Lightroom's edits are all non-destructive, you can do this at any point in the editing process. Personally, however, I like to leave it for the final step.
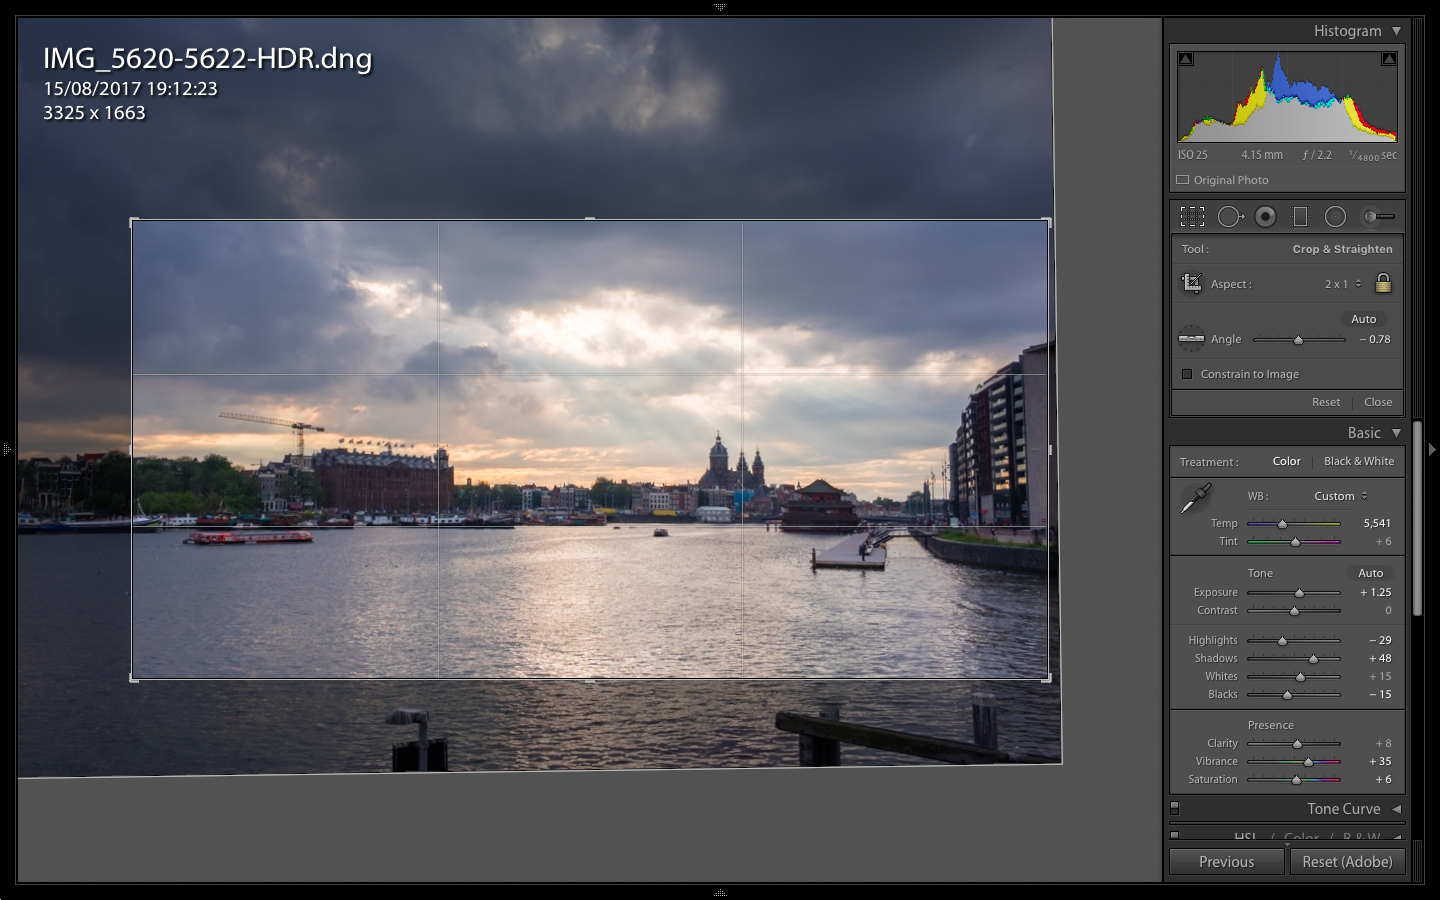
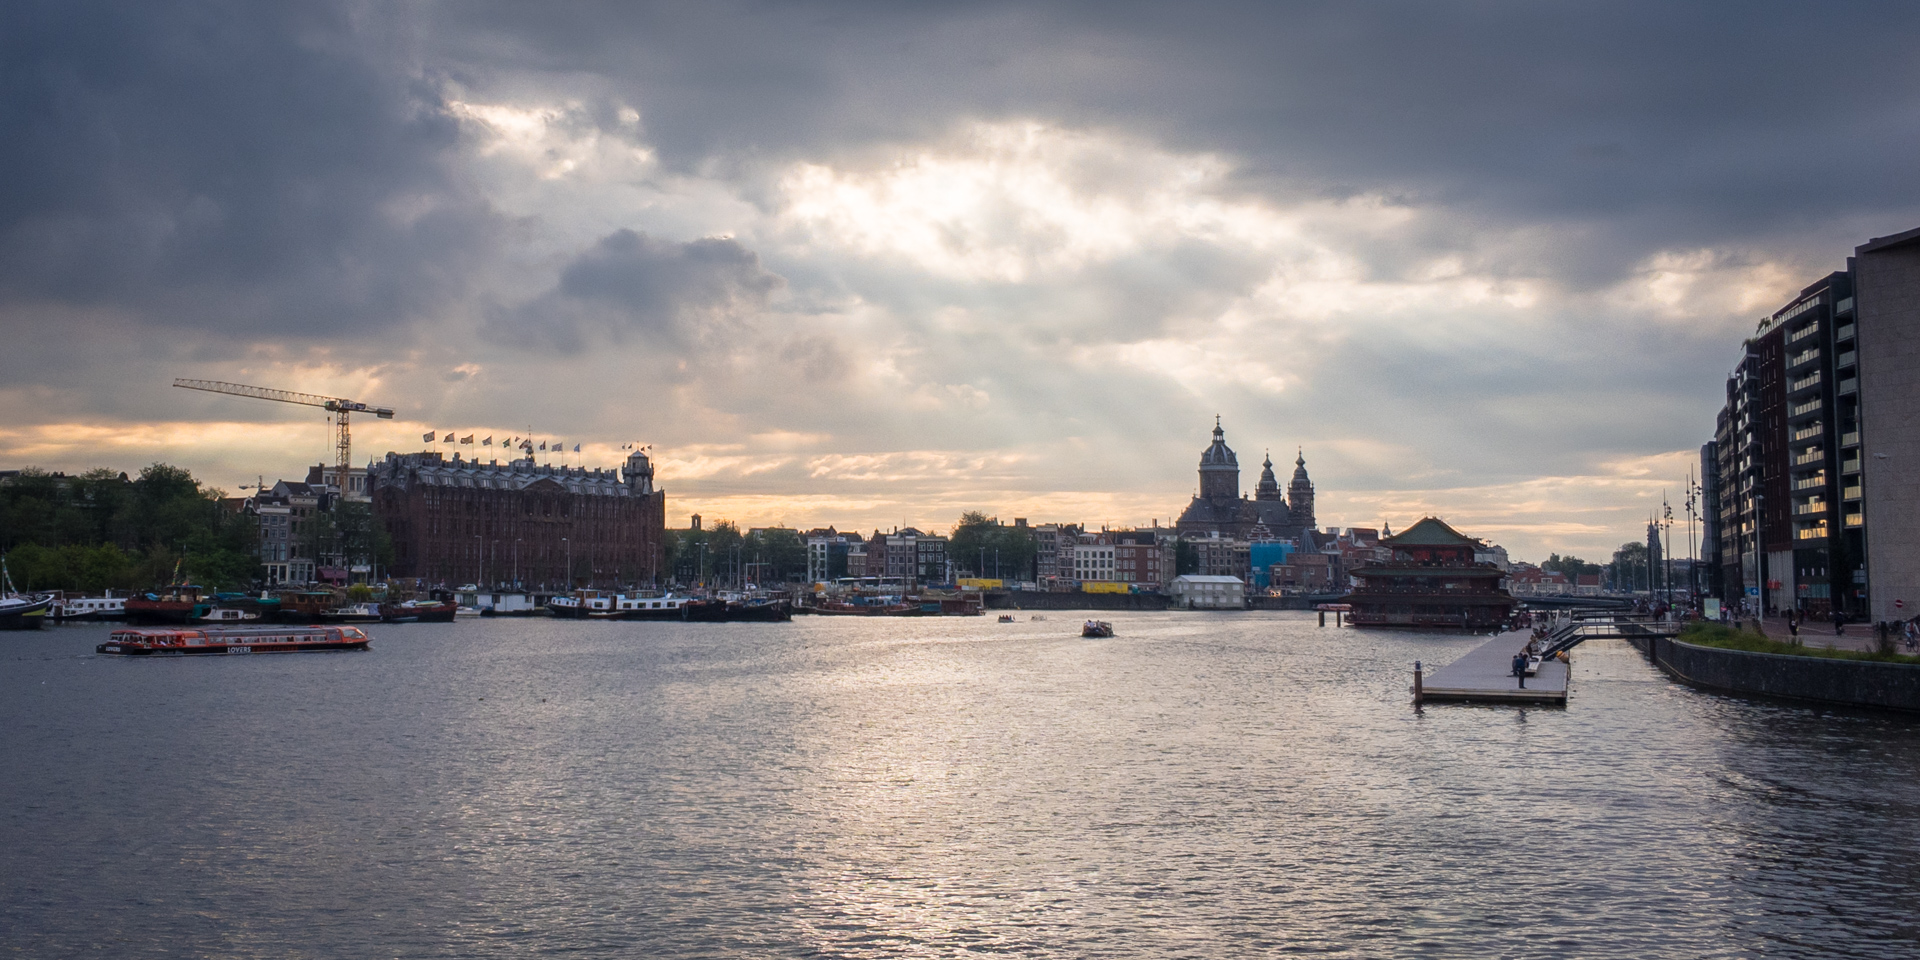
I really like the result already, but I'm feeling adventurous. Let's try to give the image a more cinematic feel by cropping it with a 2 : 1 aspect ratio instead:
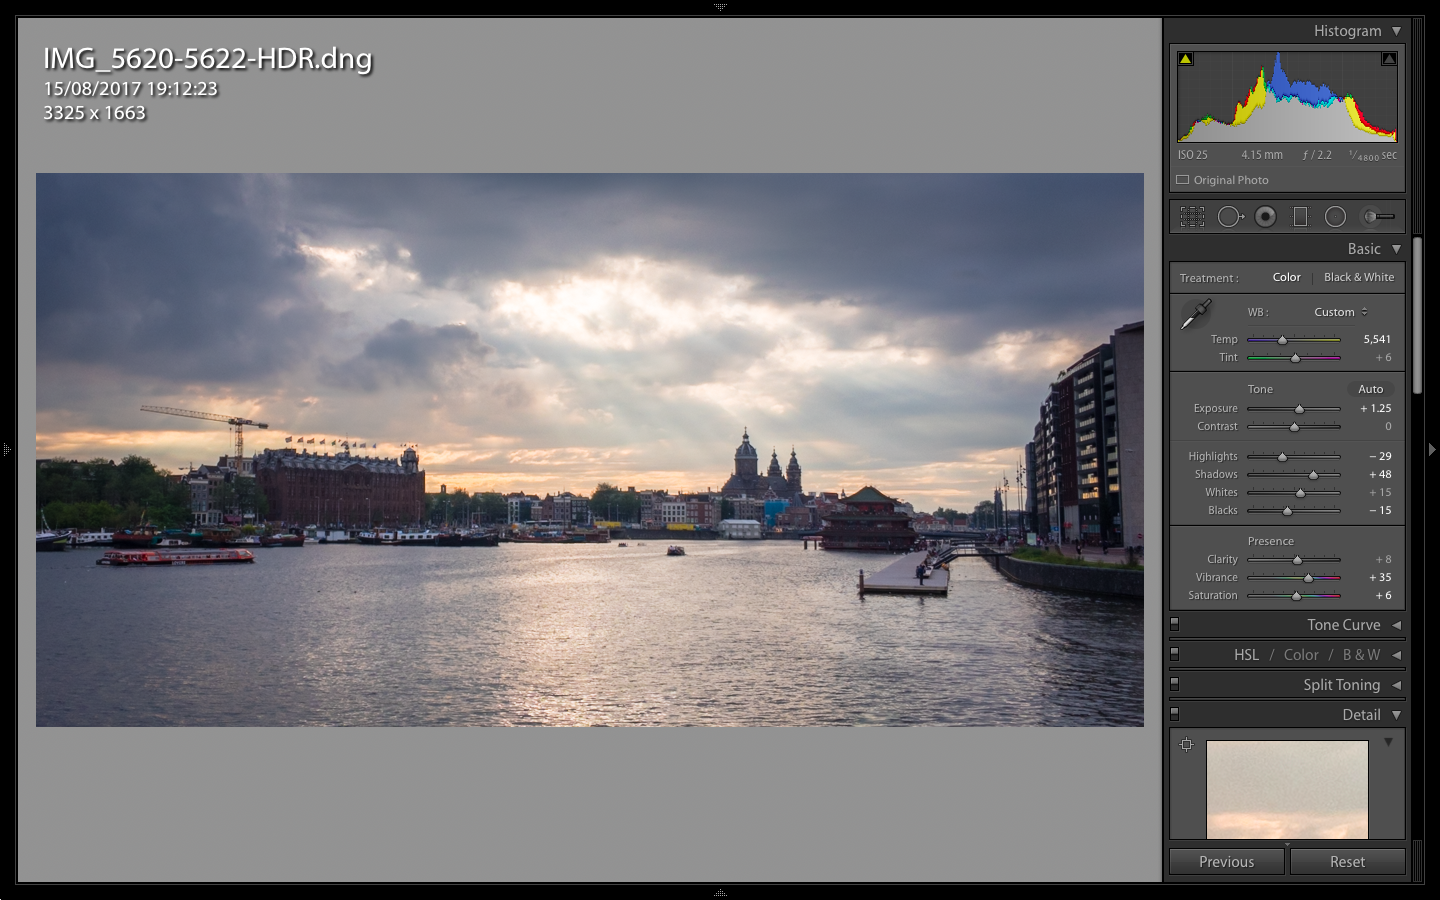
The result looks very focussed. I really like how this one turned out — especially knowing I took it using my phone.
End result
Comments closed
This blog post has been archived; it is currently not possible to comment.